
The 18 steps to making a bead necklace
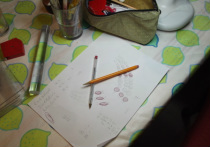
DesignThink of a concept and work out the practicalities of wearing it, and then how to make it
|
 |
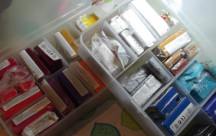 |
Select the basic coloursThe primary colours of turquoise/cyan, pink/magenta and yellow are used for most colours, along with black and white and some special clays such as pearl or translucent
|
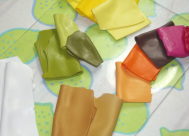
Mix the colours for the projectMost beads have a complex mix of colours, sometimes blended still further into graded colour shifts in 'skinner blends'. There are usually more colours included than you might expect
|
 |
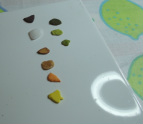 |
Test the coloursSome colours and blends change during the heat curing process and the raw mix may need to be adjusted to get the right final effect.
|
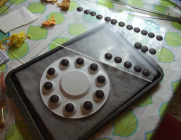
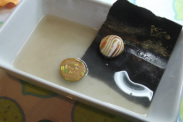
Make the coresTo reduce weight, many beads are made with a hollow core, in this case flat-backed rounded domes
|
 |
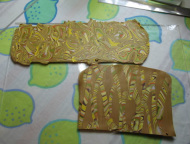 |
Make the designed patternAt last, some artistry! Make the patterned surface veneer to cover the front and back of the beads
|
Cover the back of the beadRaw clay is adhered to the cured core using the liquid curing catalyst, and the whole lot re-cured
|
 |
 |
Prepare for stringingCarve out a channel in the hot clay before it sets hard, so that the stringing thread or wire can pass easily through the bead
|
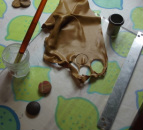
Finish the coreUse a very thin layer of clay softened with extra catalyst to glue the domed front of the bead core to the carved and ready veneered back. Cure the whole thing yet again
|
 |
 |
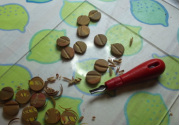
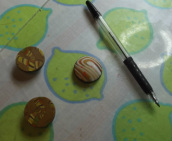
Finalise the bead shapeWet and dry sanding with fine grade papers gets the beads symmetrical, smooth and to the design shape
|
Mark the stringing pathForgetting to mark where the stringing holes lie is a mistake you only make once, as the bead is ruined if you can't find the holes
|
 |
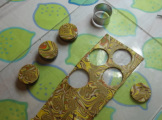 |
Select the decorationChoose the areas of the surface veneer to be used for the front of the bead, and cut to the right size. Make sure no marks appear on the surface during the process
|
Cover the coreStretch and mould the surface veneer to shape, using more of the curing catalyst and rolling the surface smooth and finger-print free
|
 |
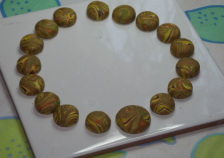 |
The final curingCure the beads the final time, at last it is beginning to look like a necklace
|
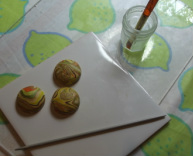
Three polishing stagesFirst the hardened beads are wet sanded with special abrasive cloth, using grits around 5/1000 of a millimetre in diameter. After washing in clean water, the beads spend the night in a polishing machine, and finally polished to a soft shine with a microcrystaline wax
|
 |
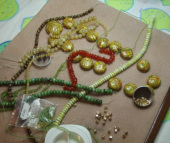 |
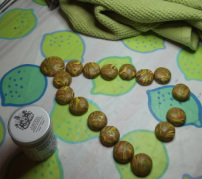
StringingDeciding which, if any, supporting beads should be added to enhance the overall design is a major step. The extra beads can be semi-precious stones, silver or gold, plain or patterned - all giving a different effect. The 'thread' is actually many-stranded stainless steel cable, covered in nylon in an appropriate colour.
|
Finished!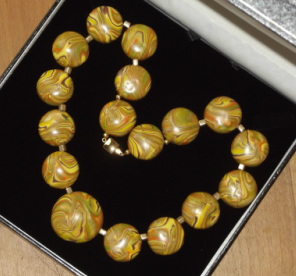 |
... and a close up to show the amazing detail that can be achieved. This bead is just over 3cm in diameter 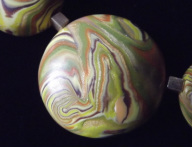 |